
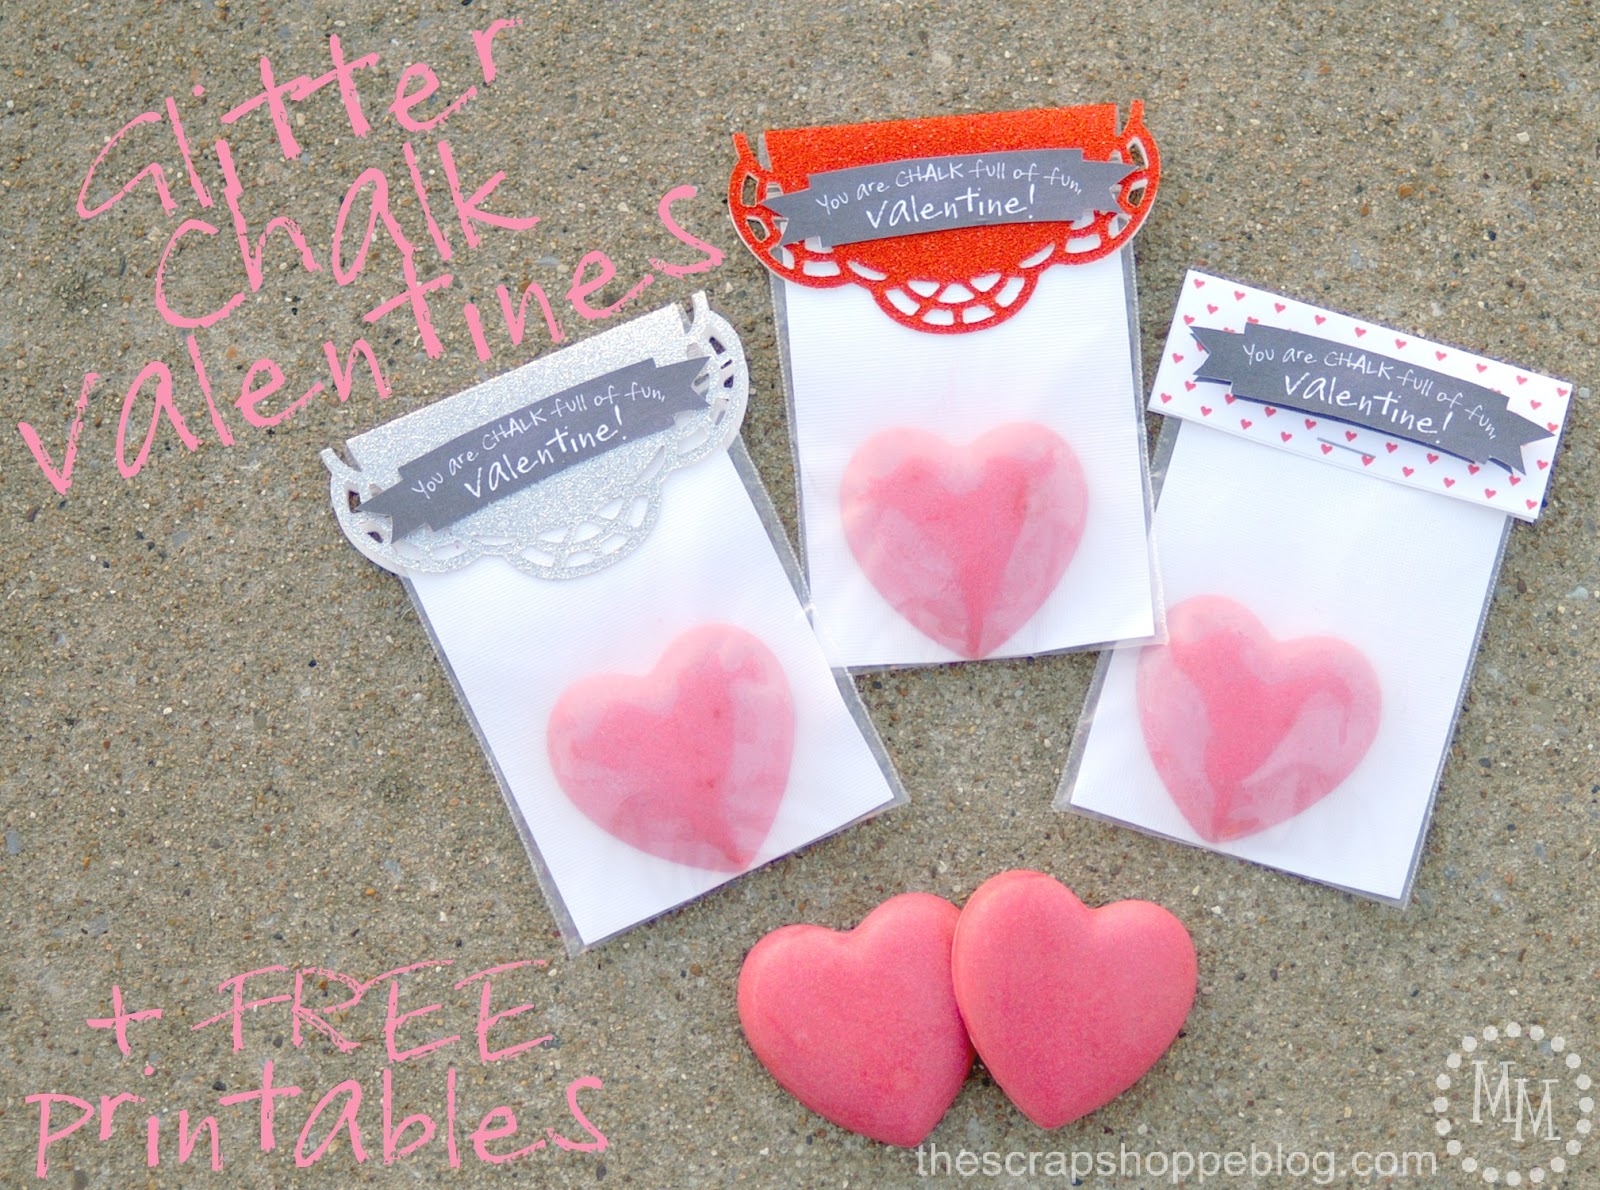
Homemade glitter chalk is a perfect non-sweet Valentine that you can make for a class party or just for use at home!
This post contains affiliate links.
I have a cute and simple Valentine’s Day idea for you today!
It’s the perfect Valentine for toddlers through elementary aged children to pass out to their friends at school.
And it’s sugar free!
It’s homemade glitter chalk valentines!
I am sharing my recipe to make the chalk and free printables for putting these Valentines together.

Homemade Glitter Chalk Supplies
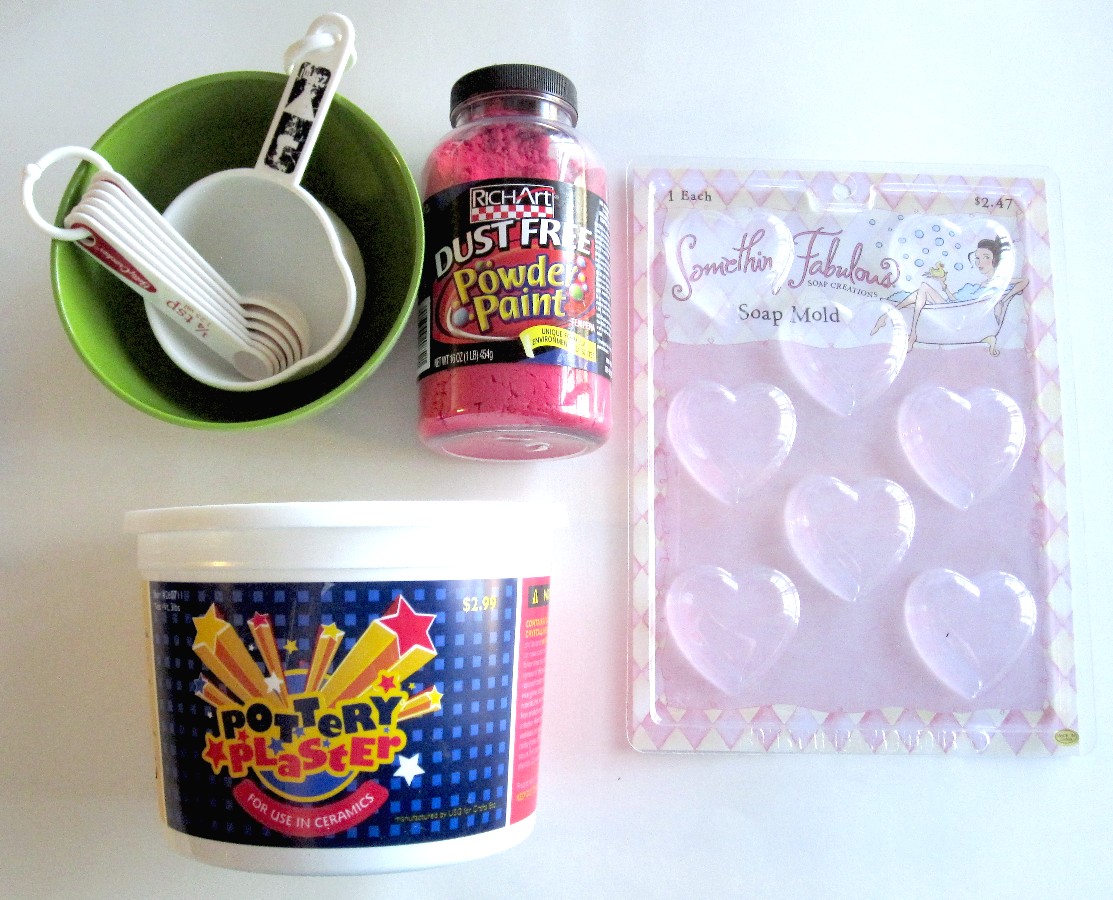
A mold of some sort (I used a soap mold and it worked like a dream!)
Bowl
Metal spoon (not shown)
Some measuring tools.
How much plaster you need will depend on how much you want to make at one time.
You don’t want to make too much or you will just be wasting it as it is going to harden within a couple of hours.
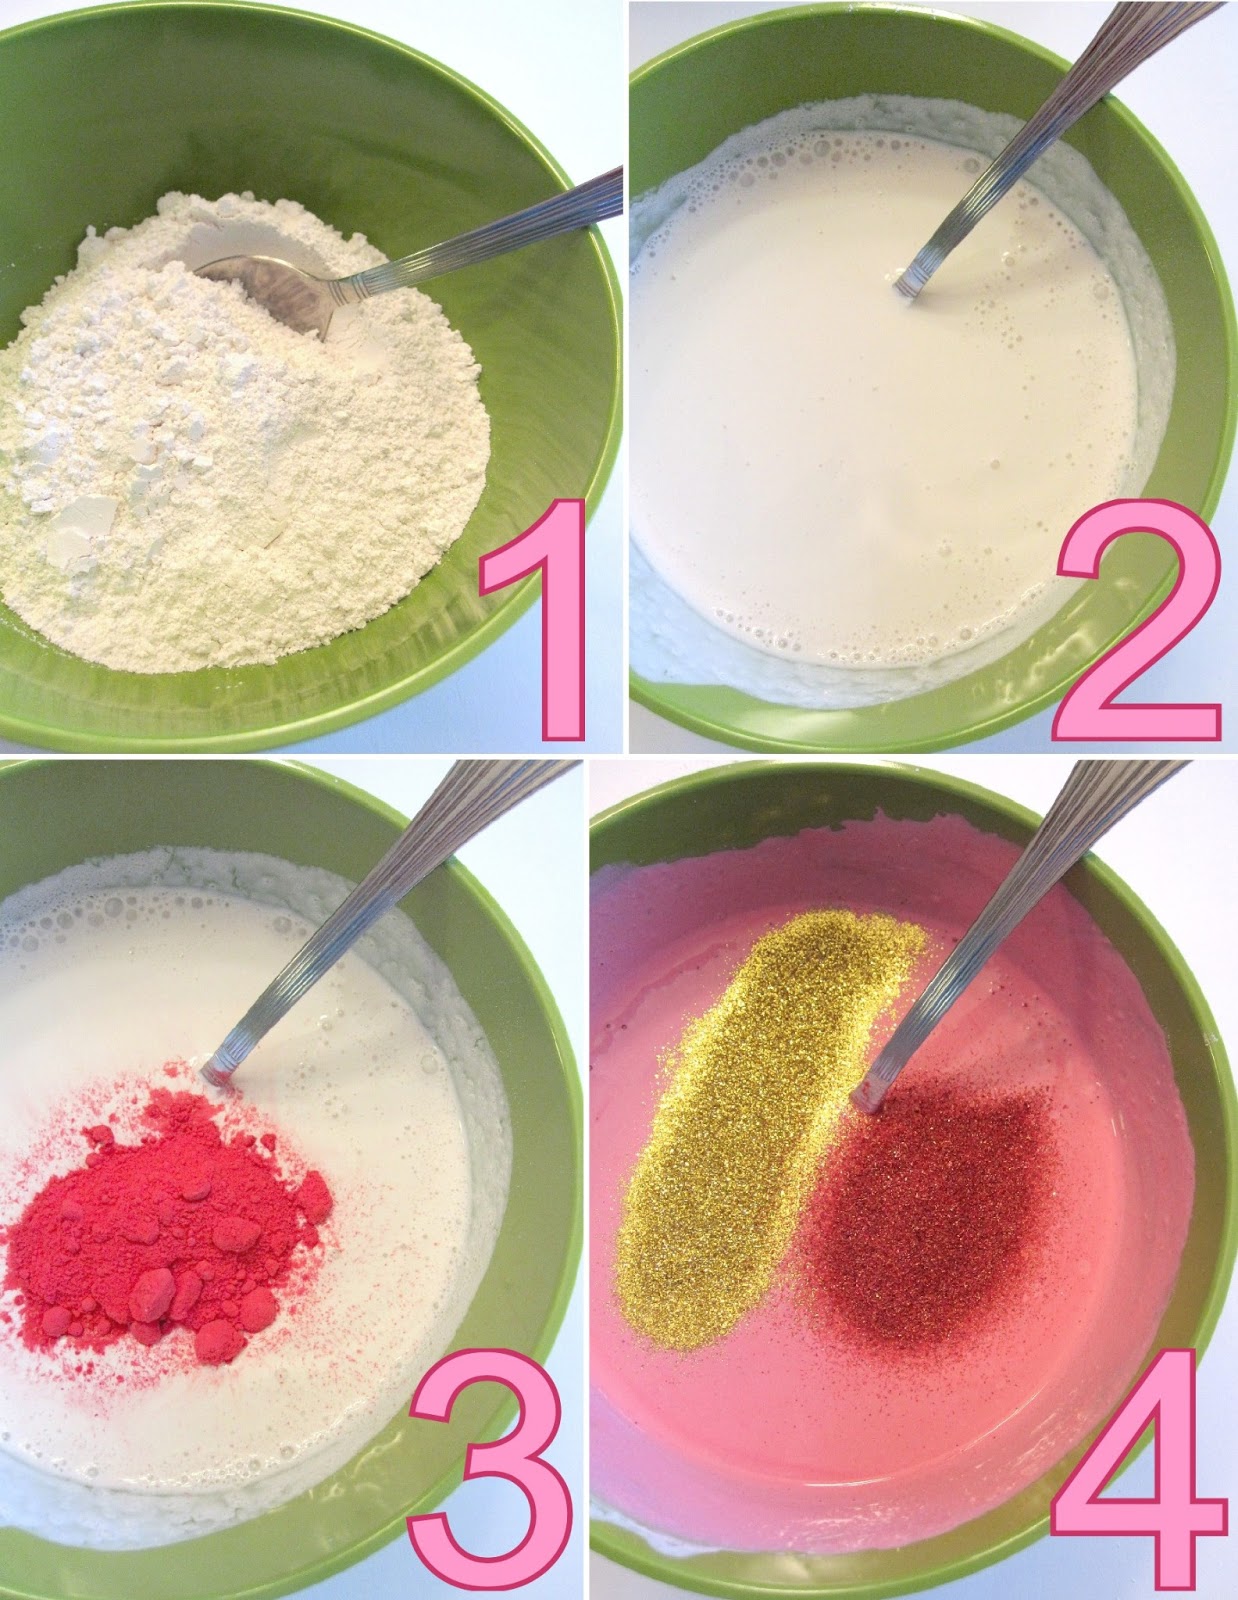
Homemade Glitter Chalk Directions
To fill my mold, I used 1/2 cup plaster + 1/4 water.
Stir the plaster and water until you get a pancake-like consistency.
If its watery, add more plaster.
If its too thick, add more water.
You will have to play with the paint to reach the color you desire.
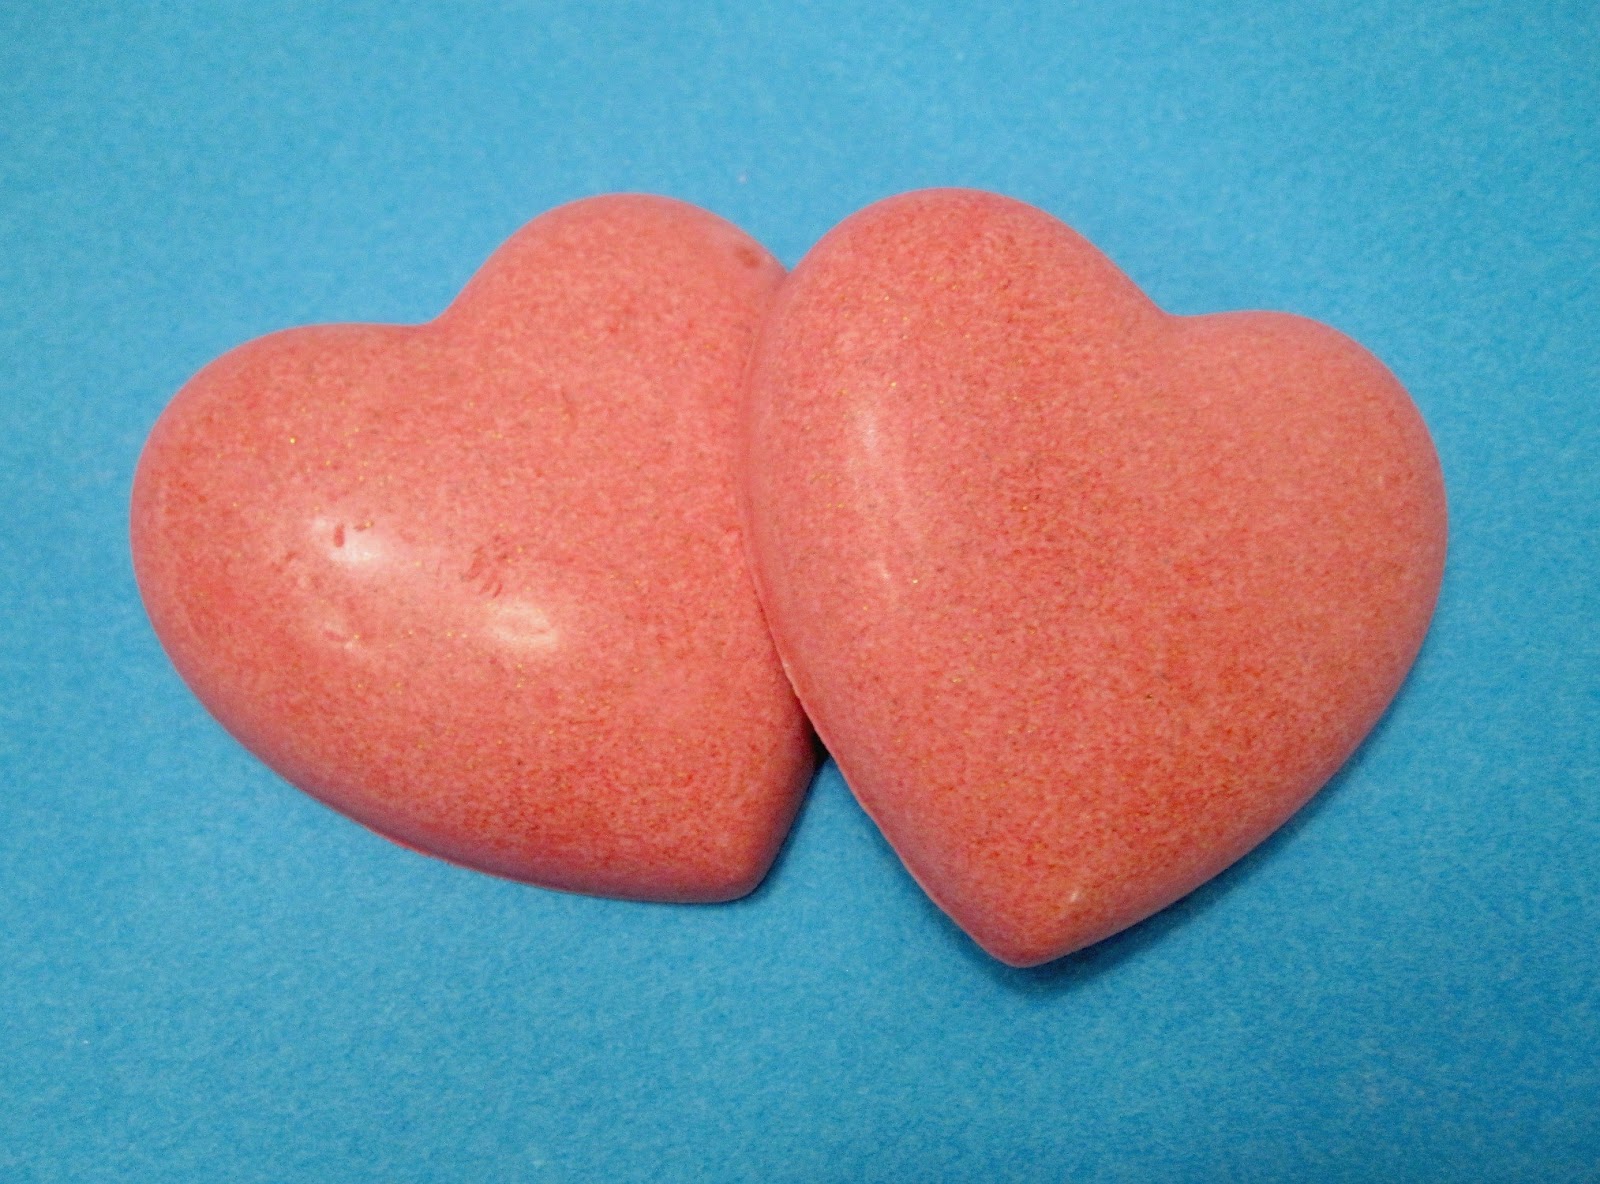
I used 3-4 tablespoons to get this rosy pink color.
TIP: Sift or crush lumps out of the powder before adding it to the plaster.
It will take a lot of mixing to get all of the paint crushed and blended well.
Now comes the fun part!
Add the glitter to the colored plaster and mix well.
I used gold and red.
It will take quite a bit of glitter so don’t be shy!
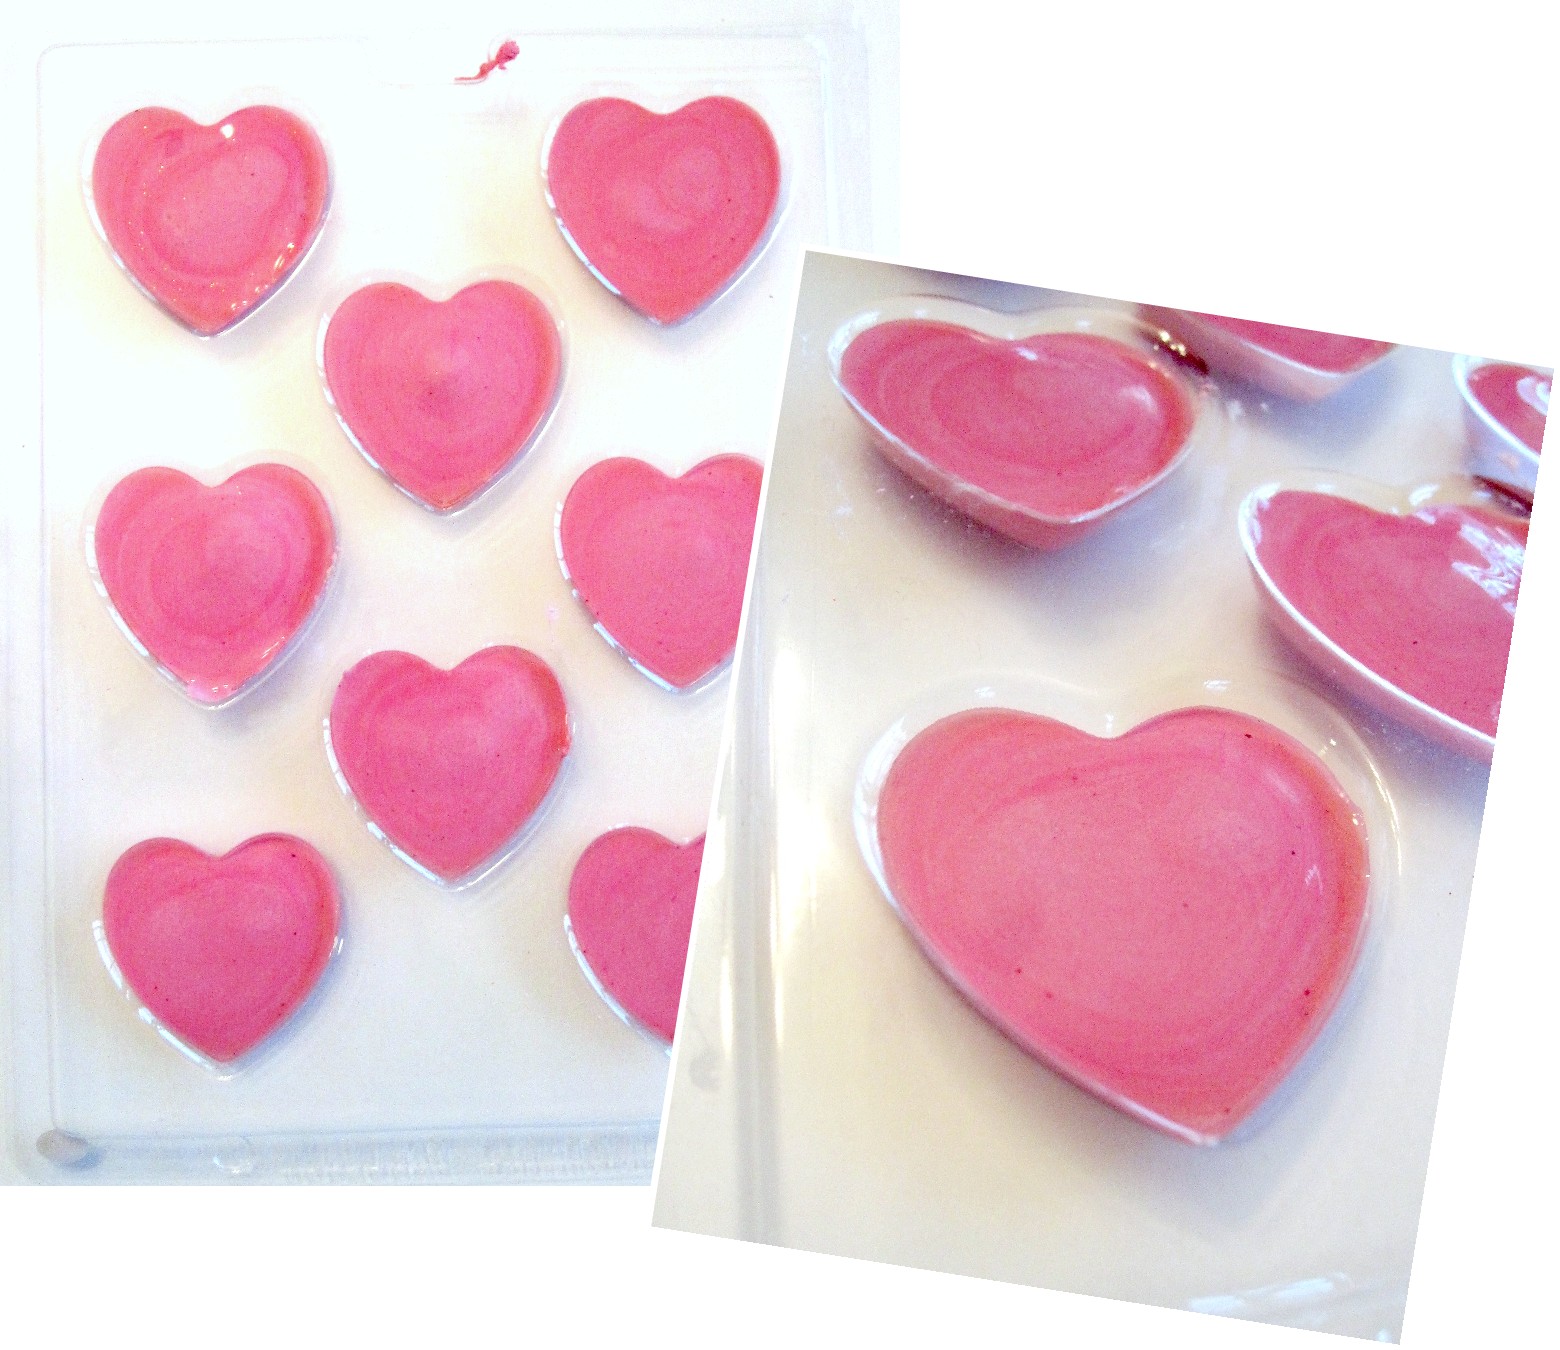
Spoon the plaster into the mold then smooth surface with the back of the spoon.
Allow to dry 20-24 hours before removing the chalk from the mold.
It should just pop out with gentle pressure.
Then allow another 24-48 for the chalk to completely dry out.
It may feel like the chalk is dry when you first remove it from the mold but if you place it on a sheet up paper you will see the paper become moist within a few minutes!
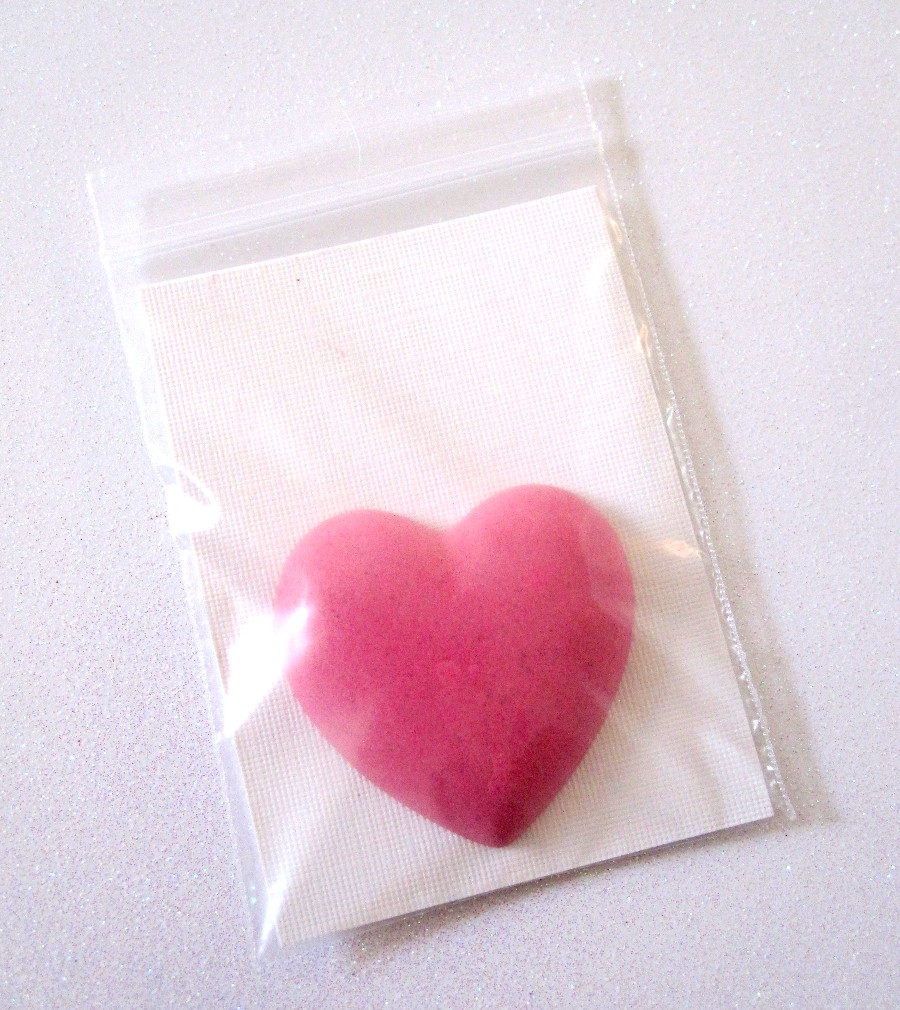
I used small jewelry bags (3″x4″ Clear Jewelry Bags) to put the chalk in.
Now we need some bag toppers!
I made two different kinds.
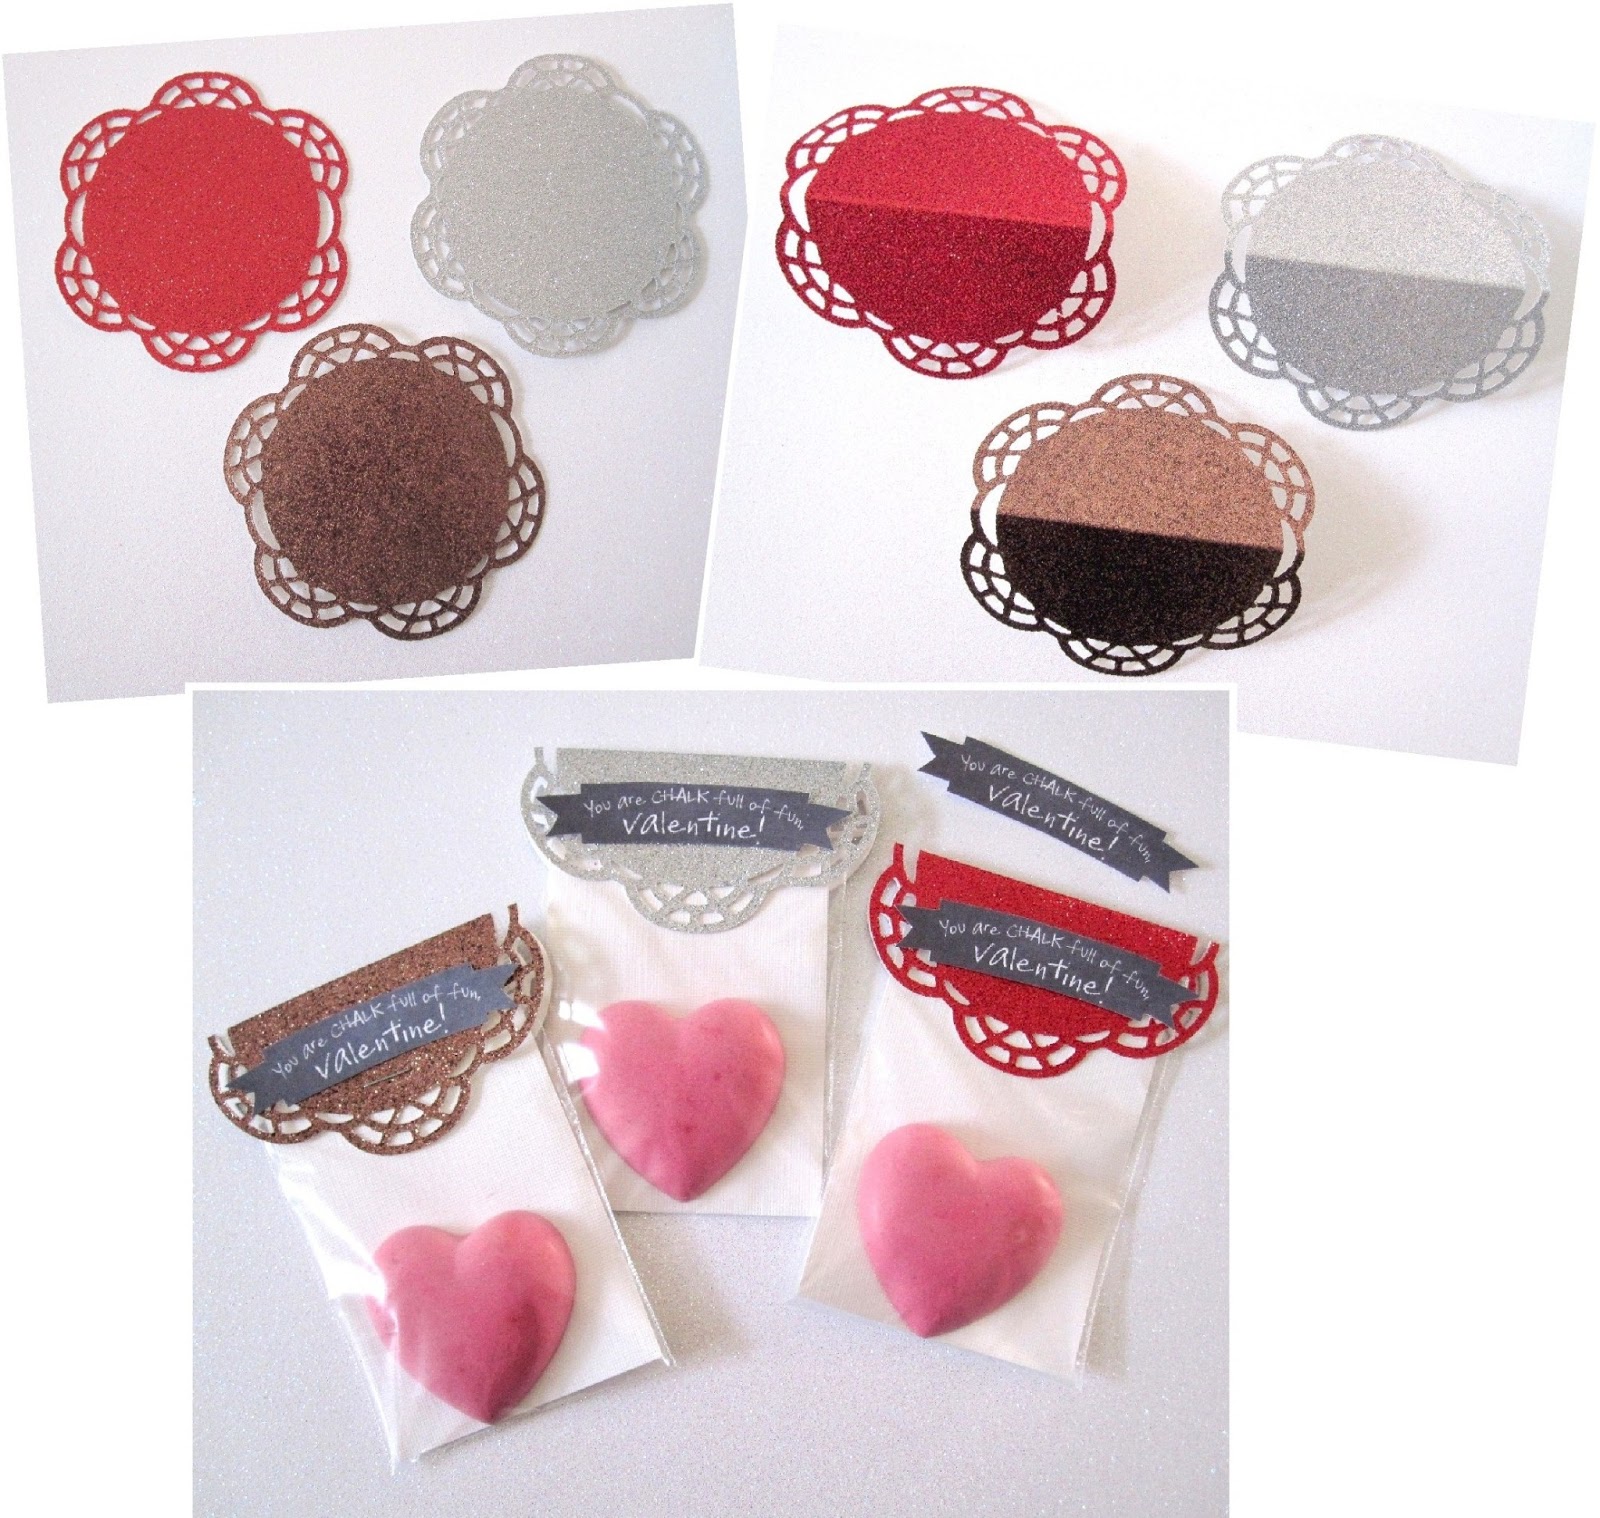
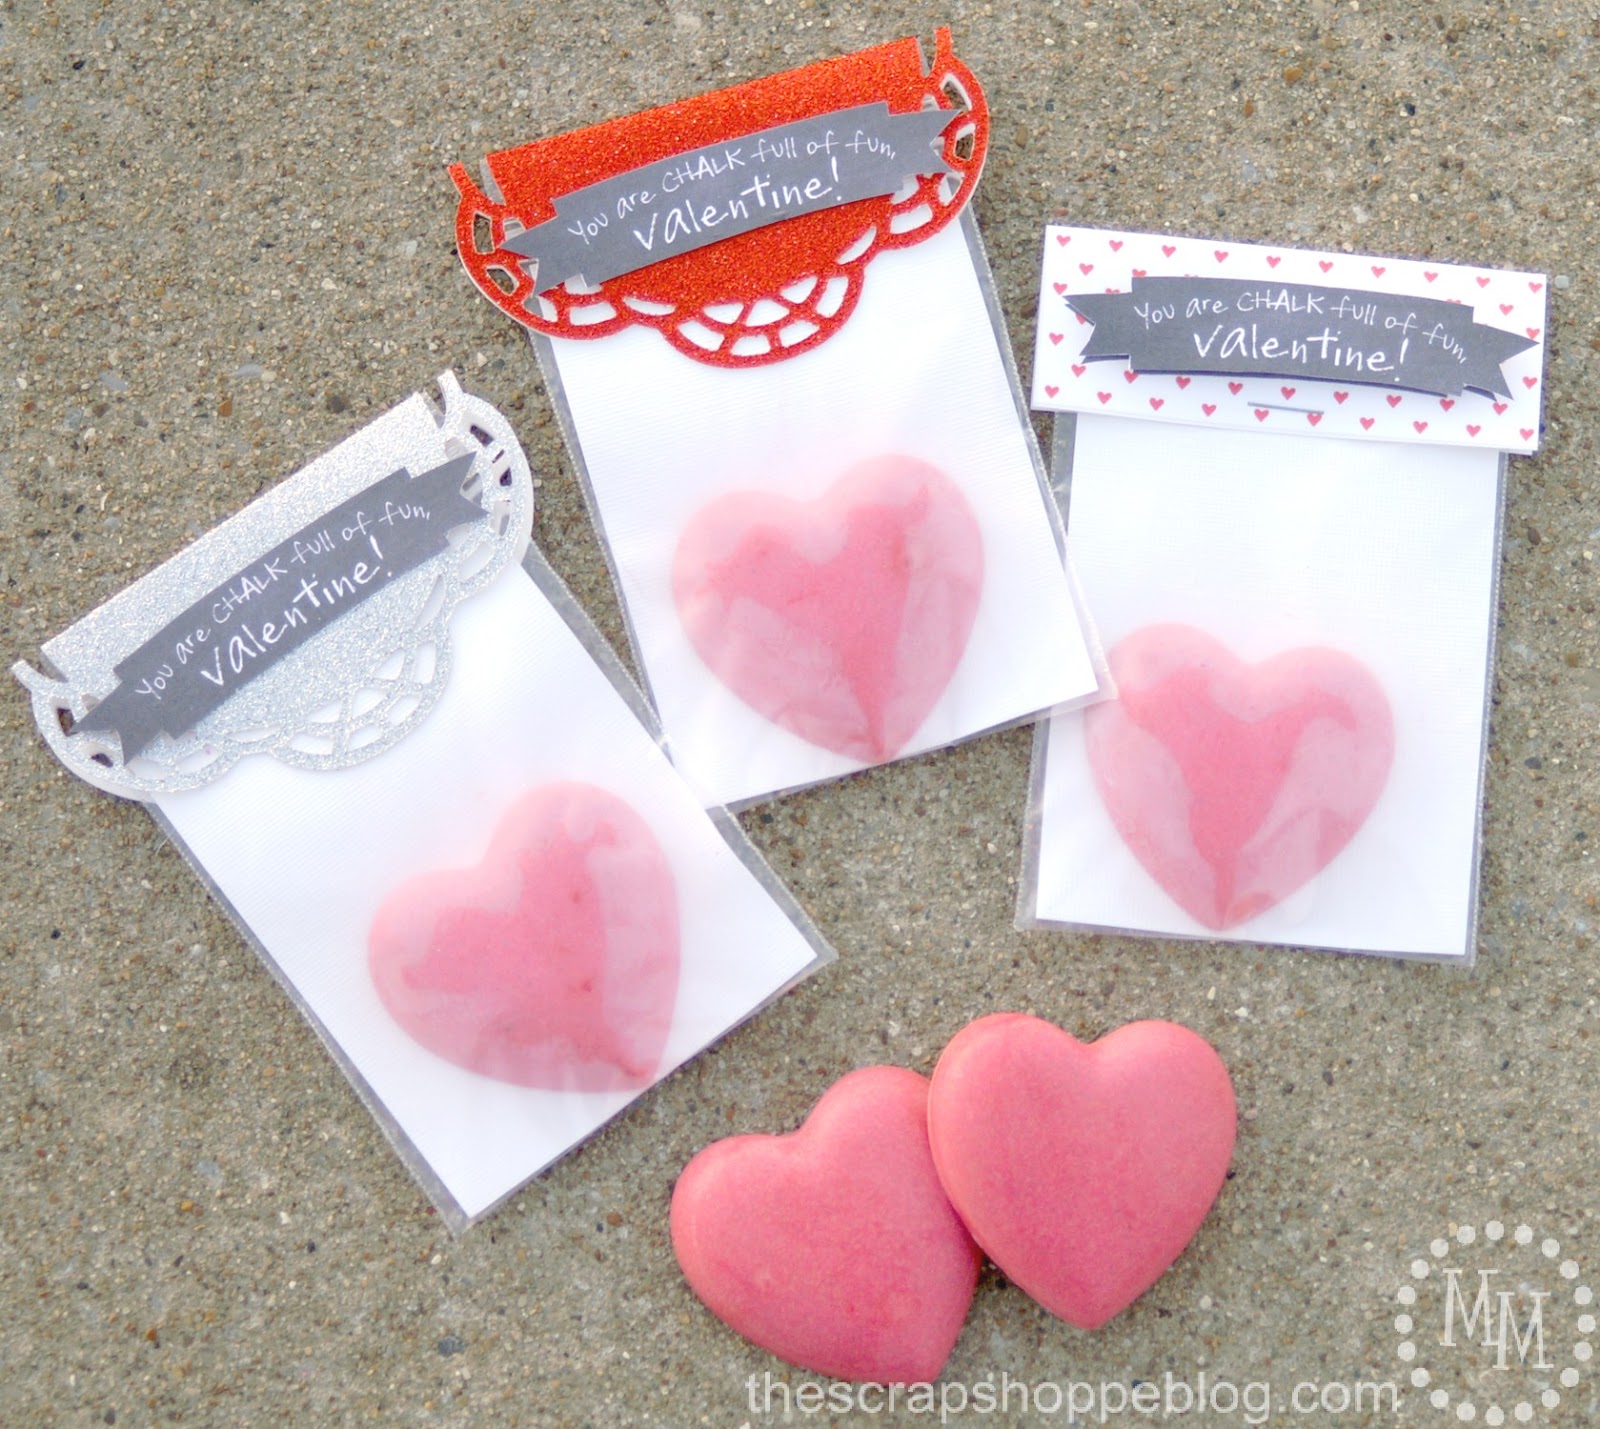
For the first set, I made some super cute doily bag toppers using glitter paper and one of the nesting doily dies.
You could also use small pre-made paper doilies.
Score the doily across the middle, fold, and staple to attach to the bags.
I also made a cute little chalkboard banner that says You are CHALK full of fun, Valentine! in a fun chalk font to put on each of the glitter doilies.
I glued the banners to the doilies with Beacon 3-In-1 Advanced Craft Glue (best glue EVER!).
The chalkboard banner is available as a free print at the bottom of this post!
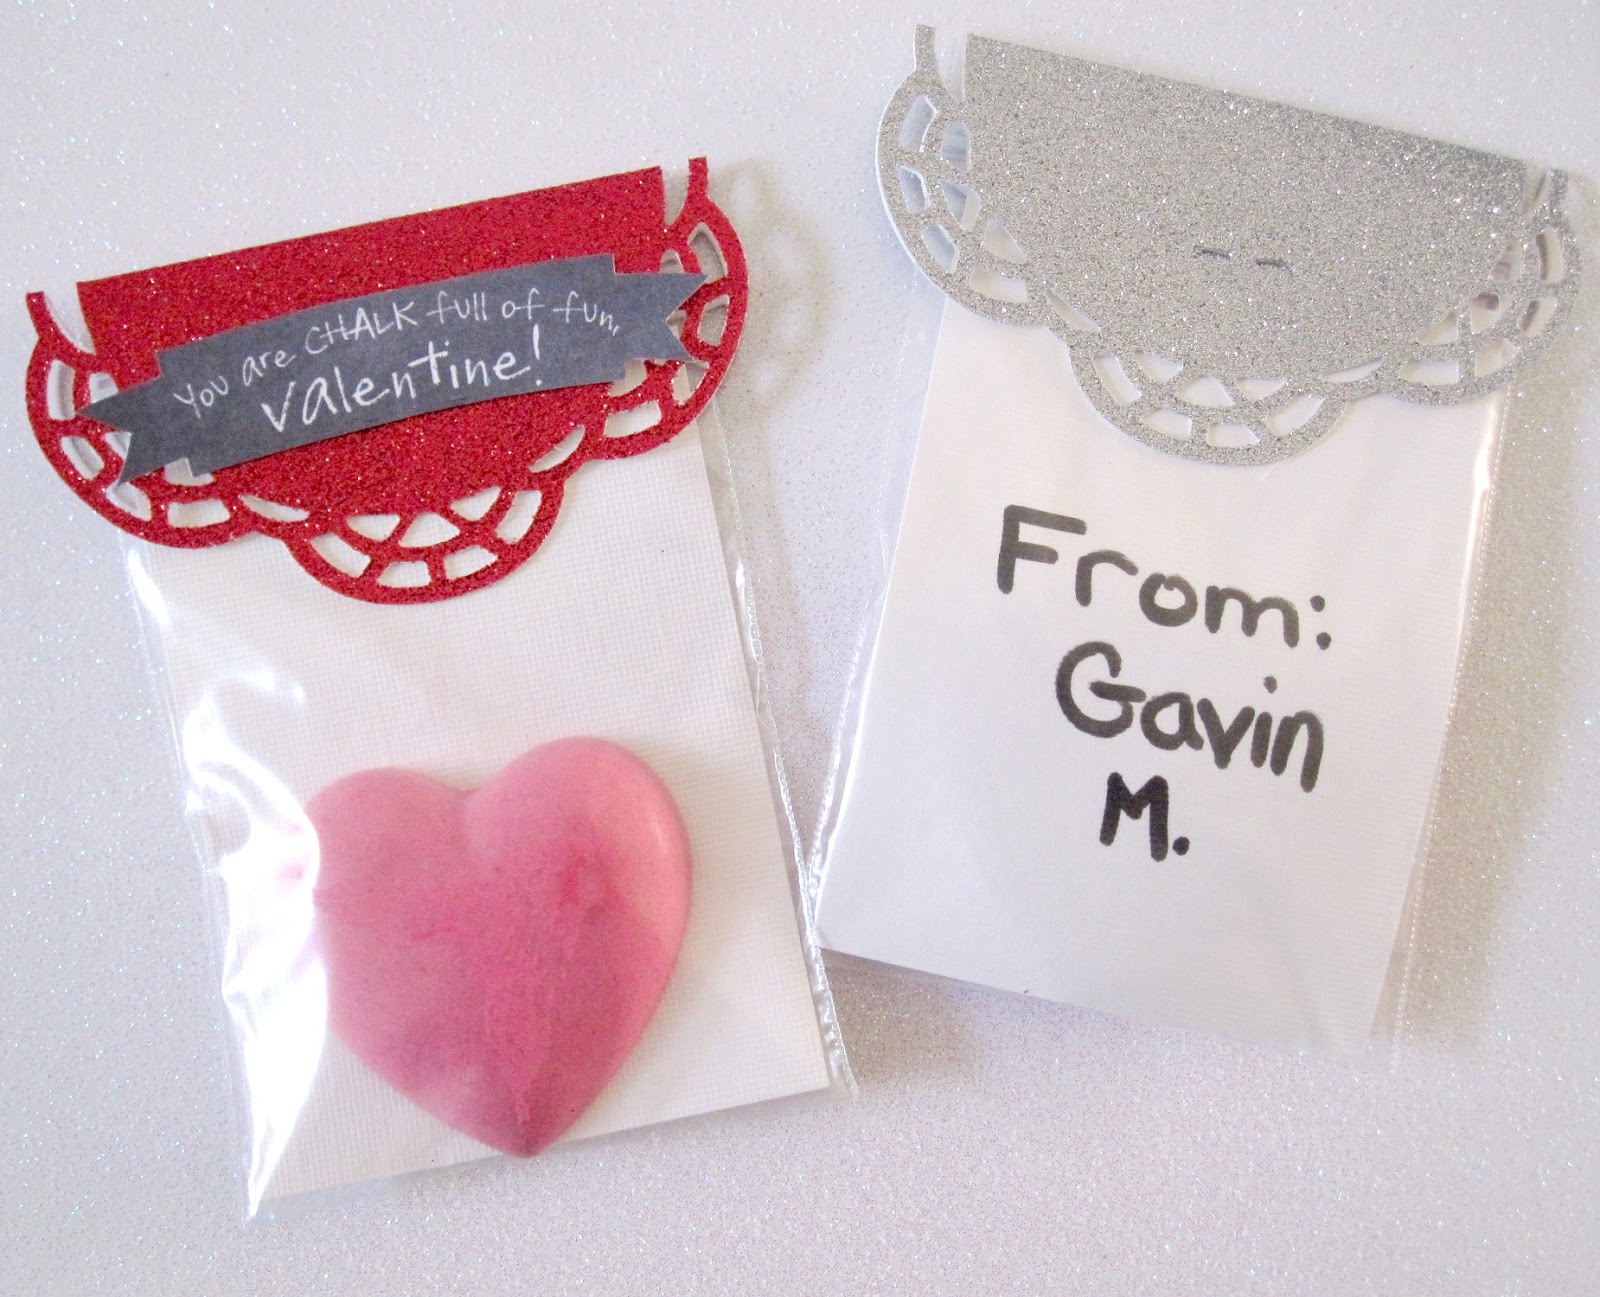
So everyone will know who the valentine is from, I wrote my son’s name on the back of the cardstock insert (prior to stapling the topper on, obviously).
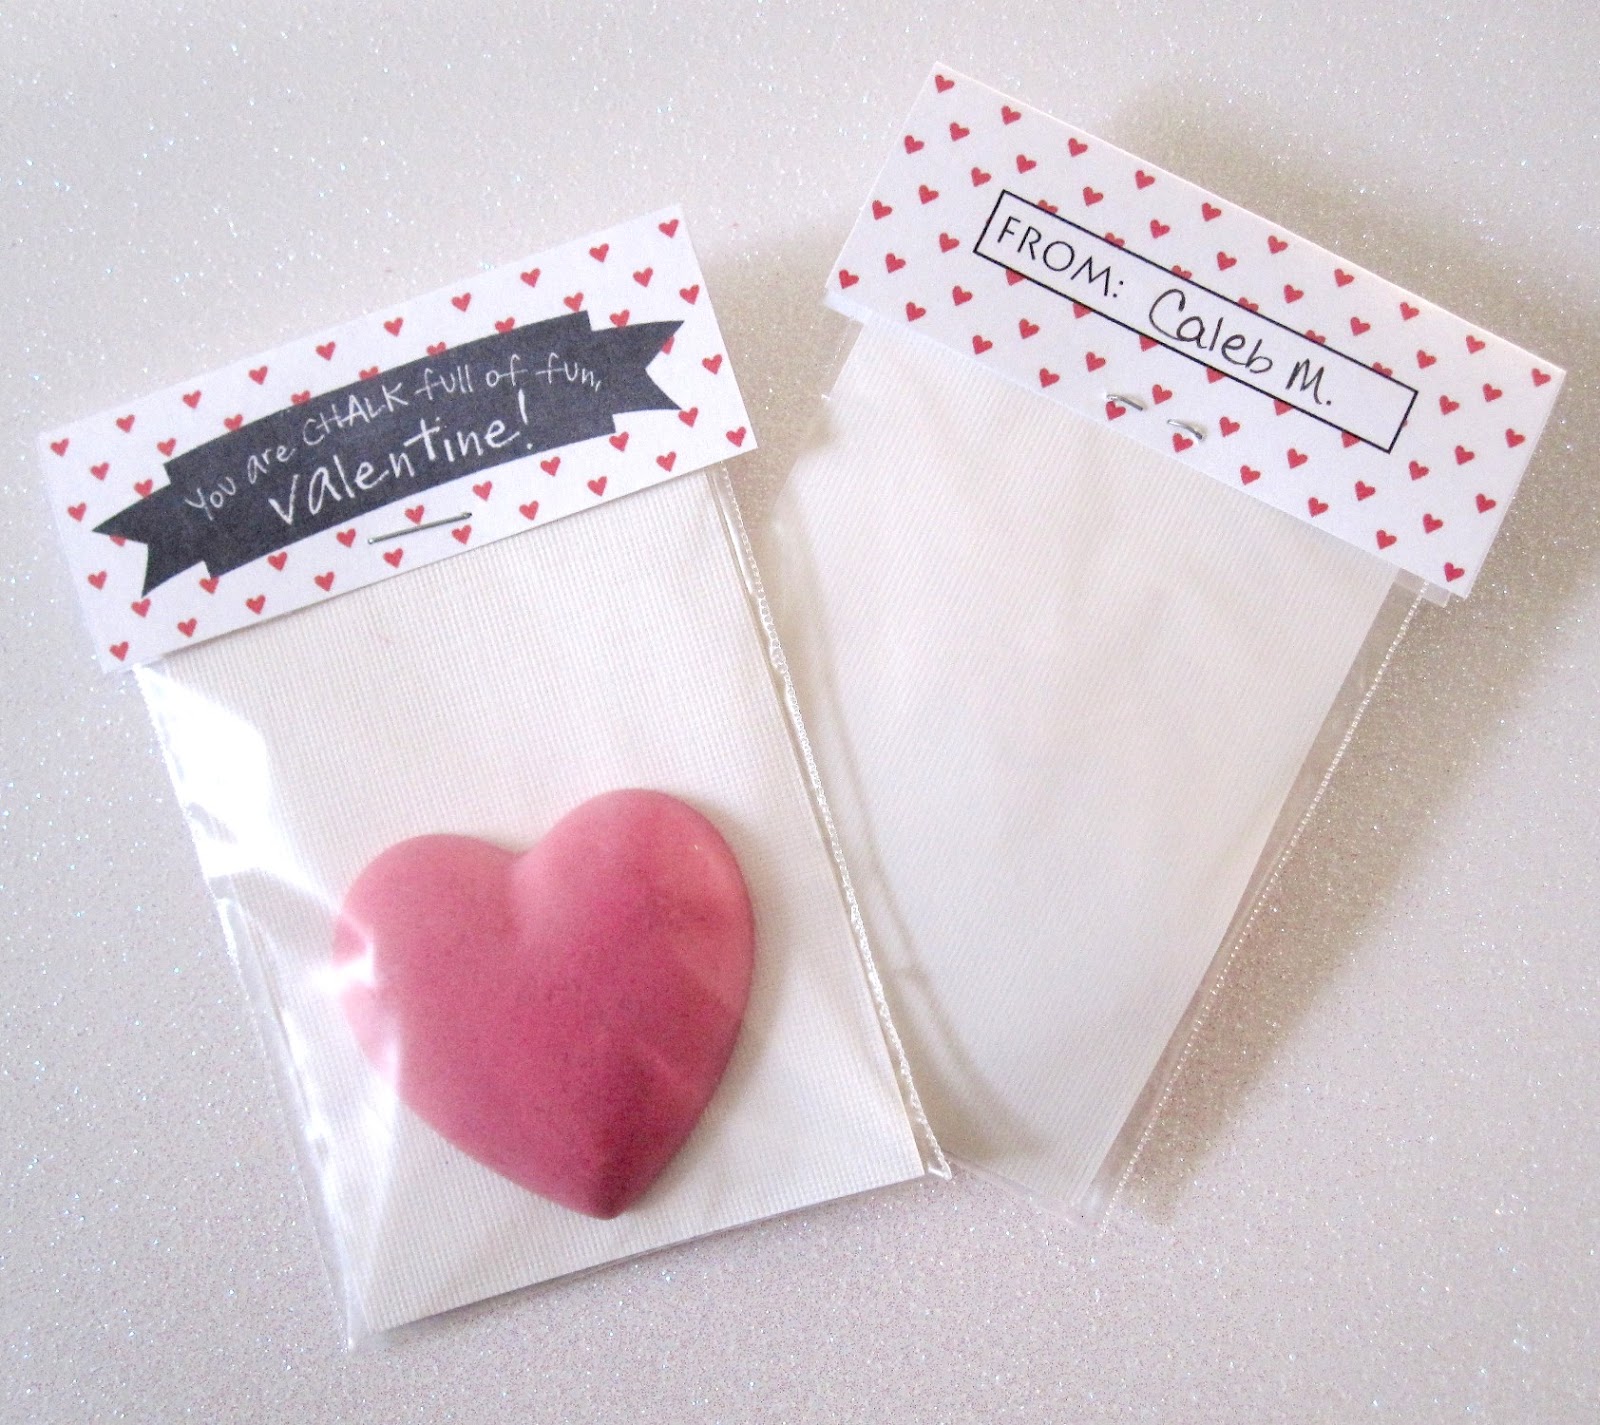
I also made some simpler bag toppers with a printable (free at the bottom of this post!) on white cardstock.
There is place on the back of the topper to put the child’s name.

I had more banners cut out than I had glitter doilies so I thought they might make a fun 3D effect on the simple bag toppers by adding them on with some pop dots.
Not something that you have to do, it just adds a little extra oomph!
I’m excited for my boys to pass out these sugar-free valentines to their friends!
My biggest tip to make your own homemade glitter chalk for Valentine’s Day:
Because the chalk takes so long to dry, and your mold may only make a few pieces of chalk at a time, DO NOT wait until the last minute to make these valentine favors!
Start at least a week ahead of time.
And of course you can always buy some chalk and print the bag toppers.
No one will ever know!
PRINT: Chalk Full of Fun bag toppers
File prints on 8.5×11″ cardstock.
File prints on 8.5×11″ cardstock.

>> See where I party! <<
Jennifer Dawn
Wednesday 10th of February 2016
These are so cute! And what a fun idea to add glitter! I'm featuring them at this week's link party! http://www.thelifeofjenniferdawn.com/2016/02/simple-and-sweet-gift-ideas-for.html
Frugal Hausfrau
Tuesday 9th of February 2016
This is absolutely adorable! I wish someone were giving ME a few of these! Thanks for sharing this with us on Throwback Thursday! Hope to see you next week!
Mollie
Theresa@DearCreatives
Monday 8th of February 2016
Super cute Valentines Day DIY.Thanks for sharing at the Inspiration Spotlight party. See you again soon. Pinned & shared.
Holly
Sunday 7th of February 2016
Such a clever idea! Holly :)
Stephanie
Sunday 7th of February 2016
What a cute alternative for a Valentine for kids to hand out!
Thanks for sharing at #HomeMattersParty!!