
Dress up your walls with pretty gold vinyl to create custom frames!
This post is sponsored by Expressions Vinyl. As always, all ideas and opinions are my own.
 I hate decorating my walls. It literally takes years for me to commit to a gallery wall or any other kind of wall decor. I’m always afraid I’ll change my mind down the road and then I’ll be left with tons of holes in the wall! I like my wall art to be temporary. That way I can change it out if I feel like it and the process is completely painless. And that, my friends, is where adhesive vinyl comes in.
With adhesive vinyl I can create an image for my walls and then peel it right back off if I decide I need a change! Seriously, it’s my favorite thing ever. Today I’m sharing a super fun gold leaf adhesive vinyl picture frame that has so many uses and can be made in any shape or size! Perfect for dressing up my walls or even as a temporary photo prop for a party!
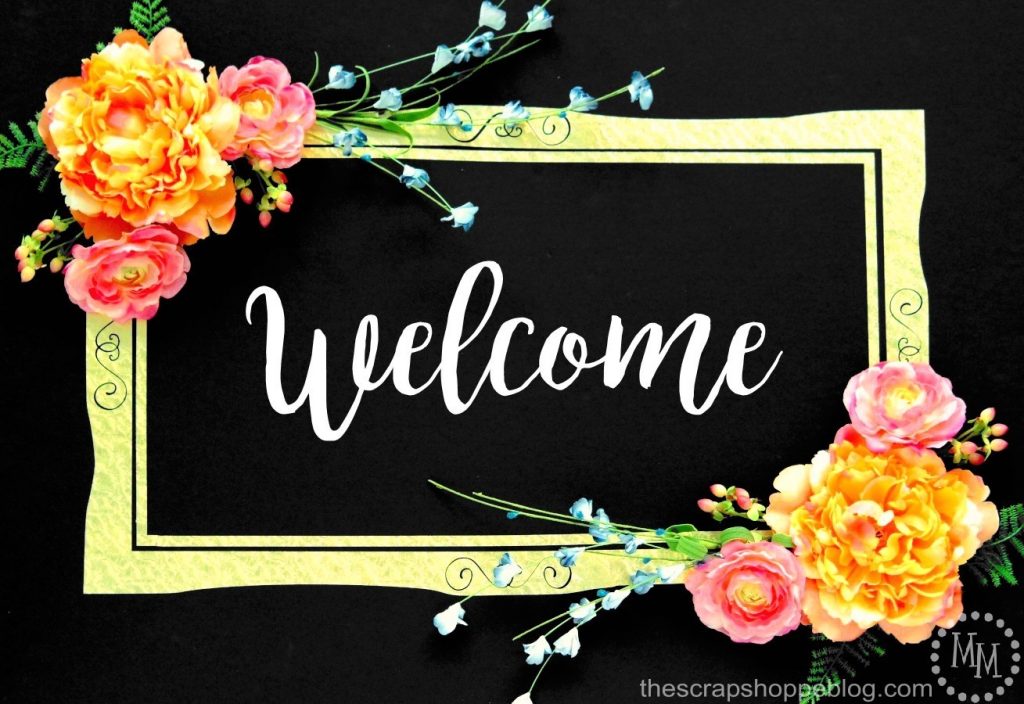
 The gold leaf adhesive vinyl comes in 12″x12″ and 12″x24″ sizes. And you can always piece the vinyl together for even larger frames as I have done here.
Purchase a frame shape in the Silhouette Library, design your own, or convert an image of a frame into a cutable file. Enlarge the image to the size you want. If it is larger than the vinyl, simply cut the part that will fit then move the image to cut the remainder.
I took the image of a frame and used the trace function to outline it. I also added some decorative flourish images to the top, bottom, and sides to further fancy it up.
 With a large frame like this, rather than use transfer tape, I applied the vinyl directly to the wall by starting with a corner and slowly peeling and smoothing the vinyl in one direction at a time.
 Repeat with the 2nd set of vinyl if your frame was too big to cut on one piece. Overlap the pieces as needed. The vinyl is thin so the overlap will not be noticeable.
 You can dress the frame up further as I did with some pretty faux flowers. Pluck the flowers from the stems and hot glue to a piece of felt. This is where those 3M Command Strips (affiliate) come in super handy. You can use them to attach the flower bunches to the wall around the frame. AND they come back off easily, which you know by now is my favorite thing.
 A few ideas for filling the frame up include:
- Use more adhesive vinyl to write a pretty saying or greeting
- Hang your child’s favorite artwork (use washi tape!) inside
- Place real picture frames inside, possibly creating a cute collage
- Use the frame as a photo prop for a party
- Hang a plain mirror inside the frame.
You can even create an entire collage of these fun frames. They would make a statement even if left empty!
Linking up to Flamingo Toes, Today’s Creative Blog, Tidymom, My Repurposed Life,
Tatertots & Jello, and other great parties found on my party page.

Rachel
Monday 15th of May 2017
This is so fabulous! Just wanted you to know that I featured them on the create link inspire round up of DIY ideas. Thanks for joining the party!
Theresa
Thursday 11th of May 2017
Pretty! Love the DIY. Pinned & sharing Thanks for joining the Inspiration Spotlight party.
Roseann Hampton
Friday 5th of May 2017
What a great idea!
Ashley
Friday 5th of May 2017
This is adorable, Michele!! So glad you shared with us at #HomeMattersParty! I am totally going to make one of these for myself, but use it as part of my command center! Have a great weekend!
Gentle Joy Photography
Tuesday 2nd of May 2017
Such a pretty frame.... and versatile too. :)