This DIY paper poinsettia can be used as a centerpiece, wall decor, on garland, or even the Christmas tree!
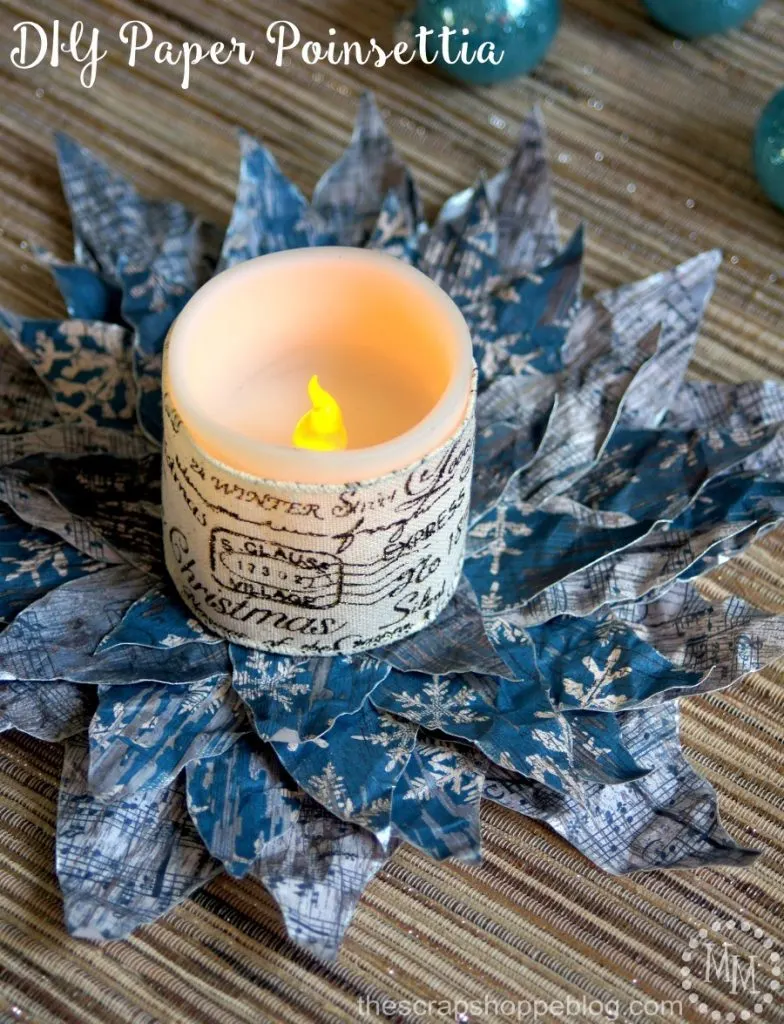
I started in the craft world as a scrapbooker and, though my craft has long evolved away from that, paper is still my favorite media to work with when I can. It can be so versatile and easily manipulated.
Last year I made a fun little Leaf Mat centerpiece for fall and decided I wanted to make something similar for winter. A poinsettia seemed perfect with all it’s pretty petals. But finding petals to use wouldn’t be easy. They would need to be DIY’d. And they would need to be made from something that would not get too thick as they were stacked up. Paper seemed like the logical idea so let me show you how to make this pretty paper poinsettia.

The paper possibilities are endless depending on the look you’re going for. I wanted something more rustic, with a farmhouse appeal so I used a couple of papers from the Pine St. Square collection which is from the Hobby Lobby brand. I chose two similar rustic, wood papers and used 2 of each sheet for a total of four sheets of paper.
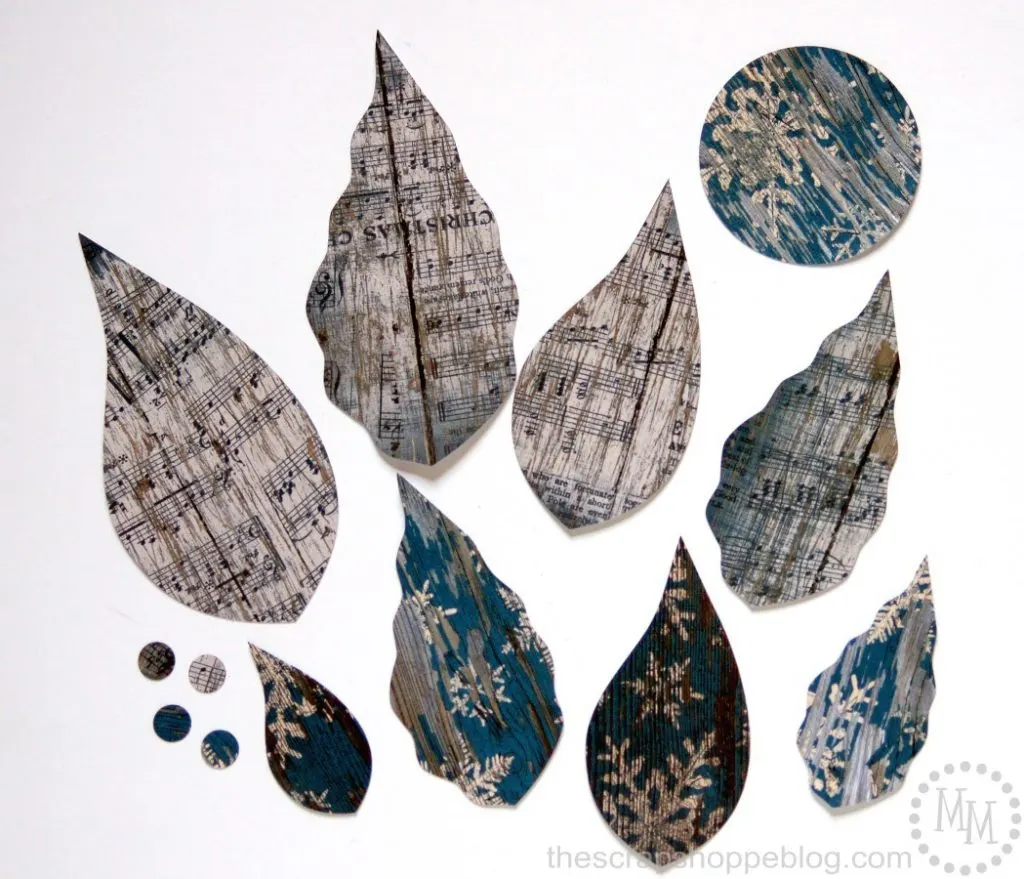
Cut out sets of 4 petals in various sizes from the scrapbook paper. Make some of the petals with wavy edges and some with straight to mimic the petals of a poinsettia. Cut or use a circle punch to cut out 1/2″ circles to use in the center of the poinsettia. Also cut out a ~3″ circle from any scrap paper.

To give the poinsettia petals more texture carefully crumple them up and then open them back up. Be careful not to rip the paper.
To help the petals stand out from each other you can ink or paint the edges. I used Americana Dazzling Metallics acrylic paint in White Pearl around the edge of each petal and the small circles of paper. The white metallic paint really makes the petals catch the light!
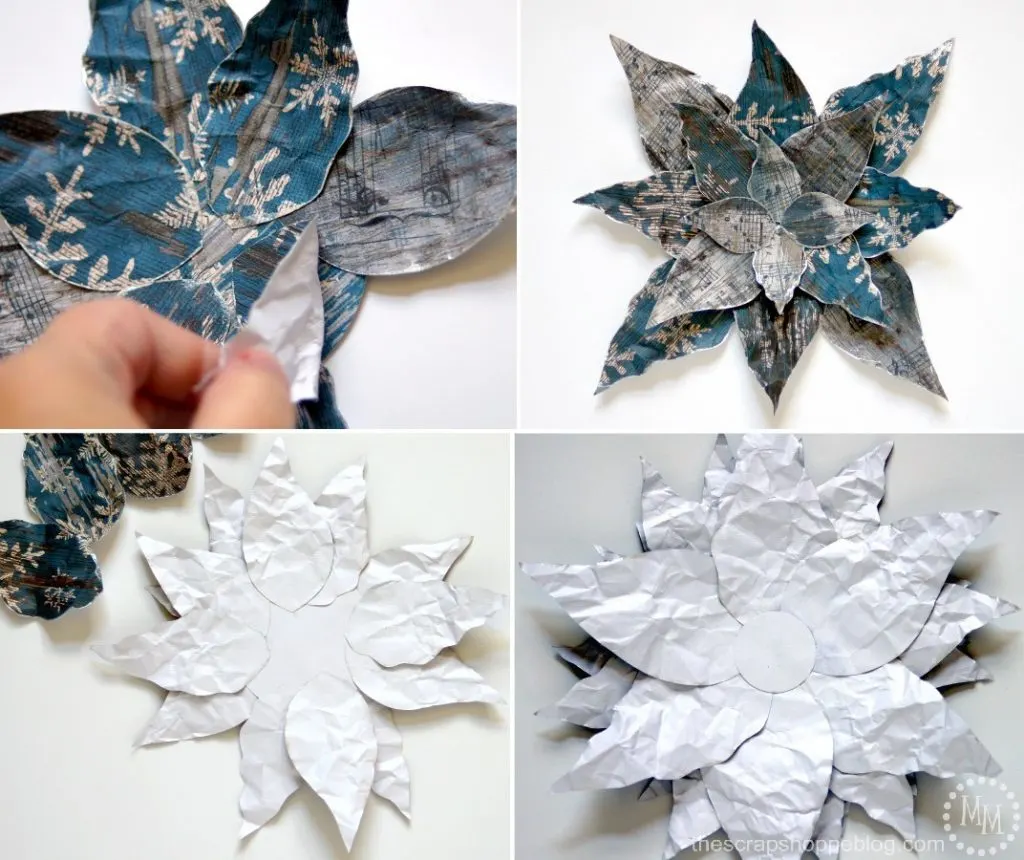
Begin creating the poinsettia with the medium sized petals by gluing them to the edge of the top of the 3″ circle. Layer the small petals on top of the medium size petals, working your way to the center of the flower. I used Beacon’s Zip Dry adhesive because it is a flexible glue and dries quickly. It’s also great for working with paper.
Once all of the smaller petals are added, flip the flower over and begin layering the larger petals to the back of the 3″ circle. Once all are added you can add a 2nd circle on top of the petals if you wish to give a clean finished look.
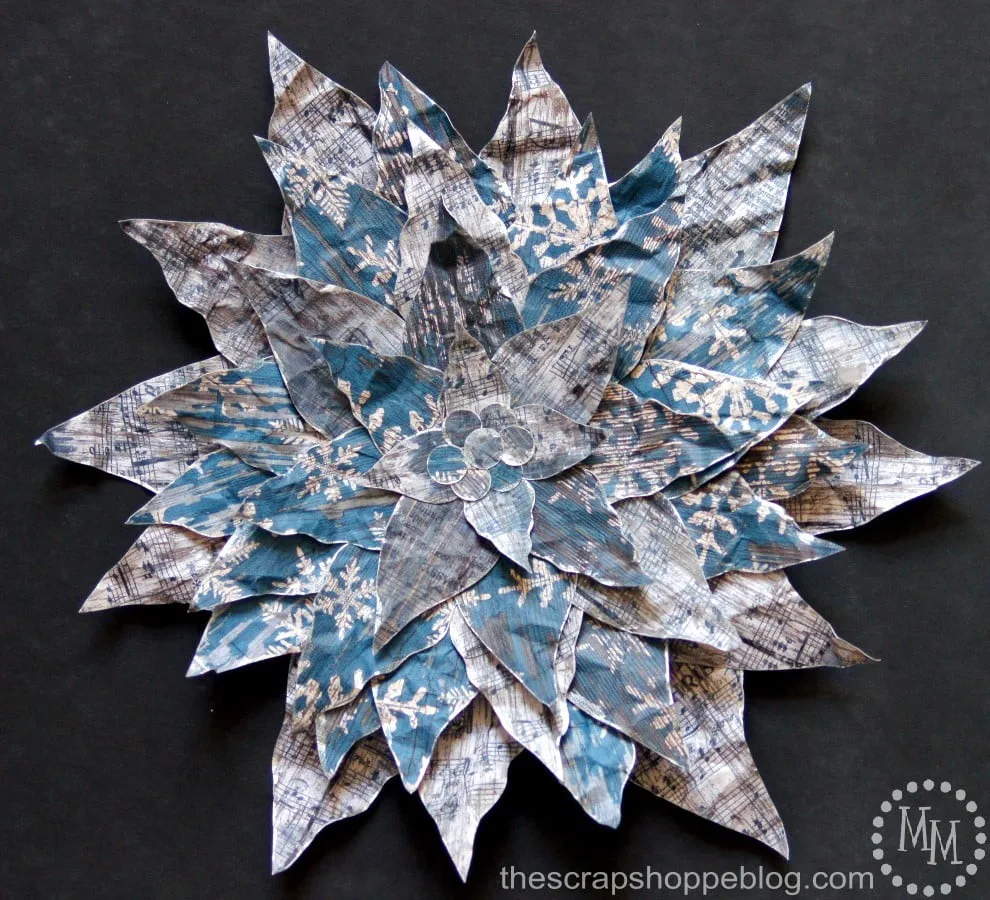
Go back and adhere the small circles in a cluster to the center of the poinsettia.
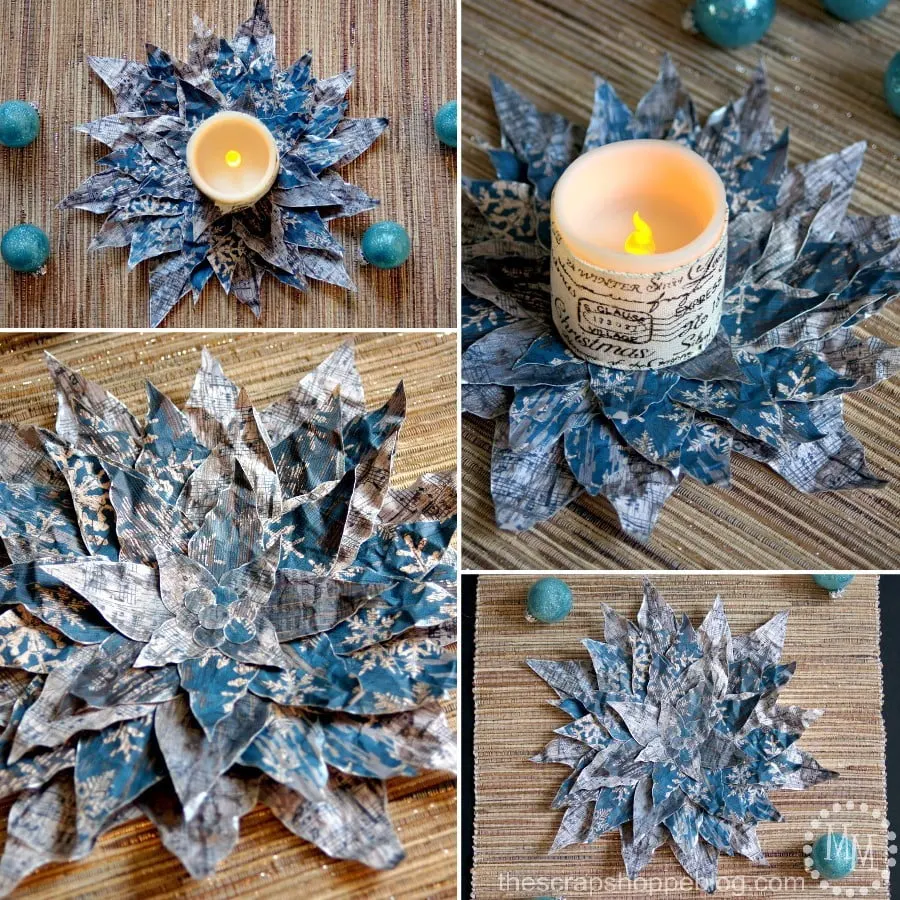
What I am loving about this paper poinsettia, besides how easy it was to put together, is how versatile it is! While it does act as a great centerpiece, I can also use it just about anywhere in the house. Add a clip to the back and it can be attached to holiday garland or even the Christmas tree. I may even make a few more and use them to decorate my mantel!
And since the poinsettia is a winter flower, I can keep this beauty out all winter long!
Happy holidays, y’all!
Linking up to Flamingo Toes, Today’s Creative Blog, Tidymom, My Repurposed Life,
Tatertots & Jello, and other great parties found on my party page.


Julie
Friday 15th of December 2017
How lovely, they look really versatile too. I can imagine them on a wreath, as present toppers or even hanging on the tree.
Christine
Tuesday 12th of December 2017
Very pretty Michele, I need to make these to put on Christmas gifts.
Susan
Monday 11th of December 2017
I saw this link at the Over the Moon linkup, and I had to come see how it was made. What a unique twist on a standard holiday favorite.
Cathy kennedy
Monday 11th of December 2017
MIchele,
Lovely idea. I think my daughter would like this DIY project and will share it with her. I'm visiting from "Inspire Me Monday". Have a joyful Christmas season!