Take your Harry Potter party to the next level with a Harry Potter Potions Class full of fun experiments even Professor Snape would approve of.
This is part 1 of a 2 part series. You can find Part 2 here.
This post contains affiliate links.
Don’t miss the other parts of our Harry Potter Birthday Party:
Harry Potter Wand Shop
Sorting Hat Dogs
DIY Backyard Quidditch
Harry Potter Cake & Party Decor
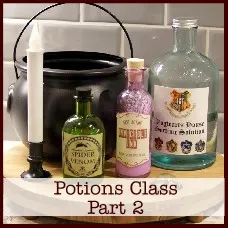
Harry Potter Potions Class – Part 2
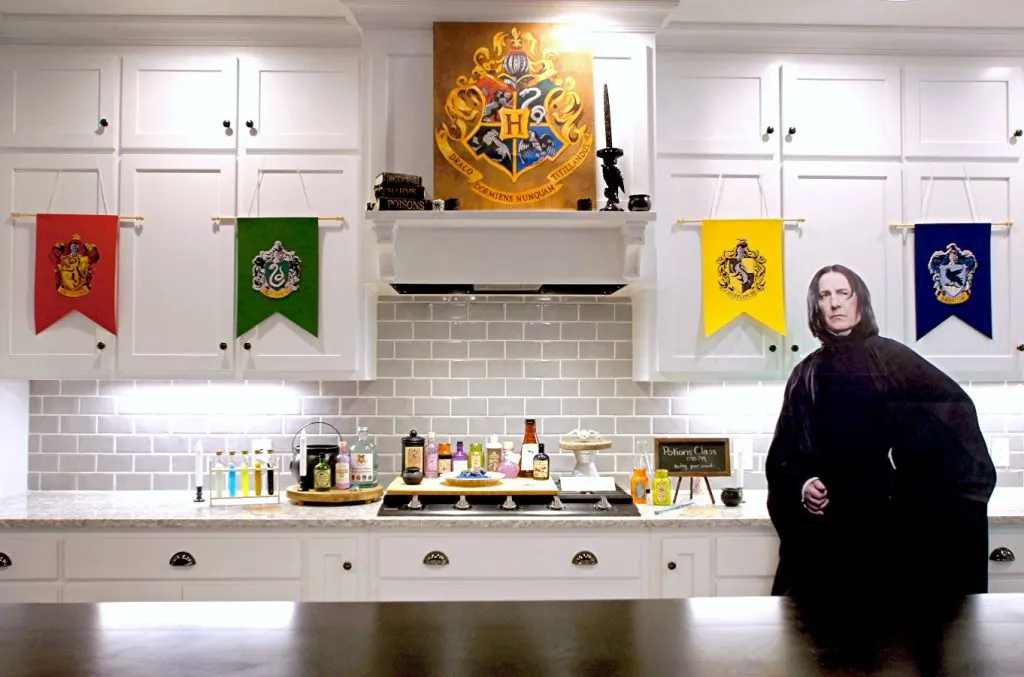
I am finally sharing our EPIC Harry Potter Birthday Party POTIONS CLASS!
This potions class was one of my absolute favorite things about this party.
I was definitely able to let my inner science geek out in full and led the class as head professor.
I have 8 fun potion ideas for you, including a printable experiment list so you can easily perform these yourself, as well as breakdowns below of each experiment.
Most of the ingredients you need for these experiments you will already have on hand, but some will be specialty items though not hard to find – I even gathered some links for you.
The 8 experiments we did were:
- Troll Toothpaste
- Troll Bogeys
- Secret Messages
- Miniature Rain Clouds
- Magic Water Drops
- Dancing Water Drops
- Fire Snake
- And the SUPER popular Hogwarts House Sorting Potion
IN THIS POST I am sharing the first four experiments.
Click each experiment above to go directly to the experiment in the post.
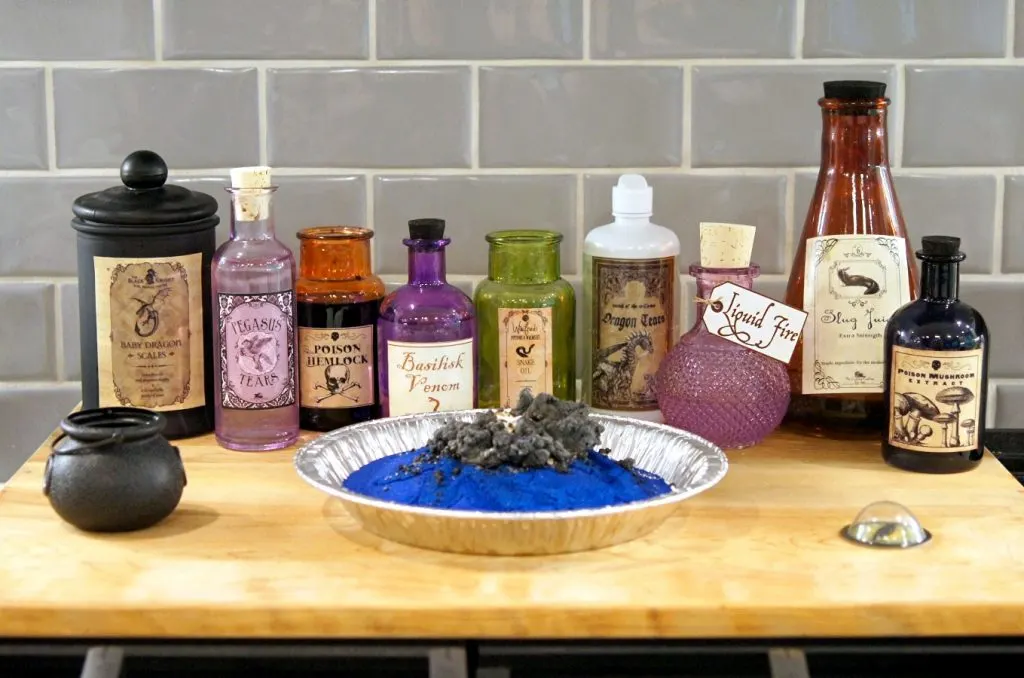
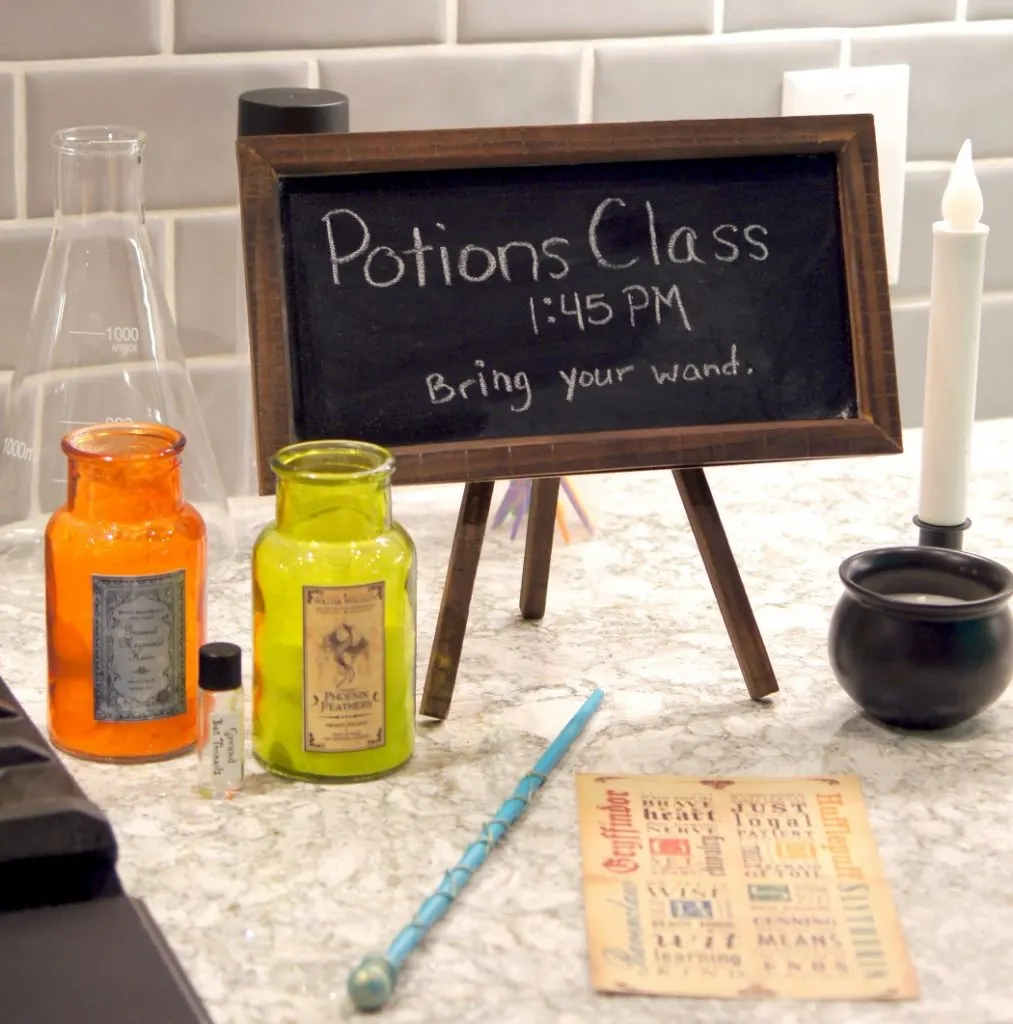
Every Harry Potter Potions Class NEEDS cool potion bottles!
The potions themselves were one of my favorite parts of the class.
You should have seen my little witch and wizard’s faces when I called out the ingredients we would need for each experiment!
I had all of the experiments coded with these special potions so none of the class knew what we were actually using.
I found most of these bottles at Old Time Pottery when they started setting out Halloween decorations (thank goodness for a September party!).
They also all double as great Halloween decorations.
I used Mod Podge to adhere the labels to the bottles followed by another layer of Mod Podge on top so they would not ruin if they got wet.

I am selling high resolution versions of my potion labels in my Etsy shop.
They perfectly match all of the experiments listed below and come pre-sized, as well as individual JPG files so they can be resized to better fit your potion bottles.
There are 27 labels in total, including 3 water bottle wrappers and food tent labels for your food party table.
The Polyjuice Potion label is now a free download at the end of this post!
The Hogwarts House Sorting Solution label is now a free download on the Potions Class 2 post!
Even if you don’t use them all to do all of the experiments listed below, they are fun to have on hand as party decorations.
Harry Potter Potions Class: Troll Toothpaste

Troll Toothpaste is a fun experiment for the kids to watch, but it needs to be performed by an adult.
The best part about Troll Toothpaste is that once the reaction has occurred, it will be safe for your little witches and wizards to touch it!
And, trust me, they will dive right into it.
I made a quick video tutorial to show you how simple this experiment is!
To make Troll Toothpaste you will need:
- A container with a narrow neck (I highly suggest an Erlenmeyer flask because it is the PERFECT shape for this experiment)
- A tub to do the experiment in (it will get messy!)
- Funnel
- 6% (20 Volume) Hydrogen Peroxide (the high grade beauty salon stuff)
- Dish soap (NOT antibacterial)
- Warm water
- Dry Active Yeast
- Color changing tablet (optional – but adds a fun color to your toothpaste)
For full directions, print the Potions Class Experiments pages below.
You can see in the video the importance of having some sort of tub for your container to sit in. This gets messy!
When you add the yeast solution with the funnel, be sure to remove the funnel quickly when you are done because the reaction will happen quickly.
It is OKAY for the kids to touch the Troll Toothpaste after the reaction has completed. It will feel foamy and warm.
NOTE #1: Make sure your yeast is fresh and use very warm water (get it fresh from the tap if you can) in order to activate the yeast.
NOTE #2: It is important to use the 6% hydrogen peroxide for the best experiment results. Regular hydrogen peroxide is only 3% and will still work but will be pretty boring. This 6% is worth the investment.
NOTE #3: Be sure to use NON antibacterial dish soap. Antibacterial dish soap will not play well with the dry active yeast.
Harry Potter Potions Class: Troll Bogeys

Troll Bogeys was our second most popular experiment to make in potions class!
Remember when Harry accidentally stuck his wand up the troll’s nose in Harry Potter and the Sorcerer’s Stone?
That’s the level of gross we were going for.
And all it really is? Just your everyday slime recipe!

To make Troll Bogeys you will need:
- Bowls of some sort for each wizard (these mini cauldrons fit the theme perfectly!)
- Popsicle sticks to stir with
- Translucent Green Washable Elmer’s School Glue (the perfect bogey color!)
- Water
- Baking Soda
- Contact lens solution
Download the experiment pages at the end of the post for exact instructions.
NOTE: This is an experiment that can be eyeballed! You DO NOT have to have exact measurements.
I dumped several bottles of glue into a large flask labeled Slug Juice and poured it into each cauldron as the kids were ready to start the experiment.
They were so grossed out.
The more water you use, the runnier the bogeys will be so it’s okay if it’s not exact.
I also kept the contact lens solution in it’s original bottle, slapped a label on it, and just squeezed out approximately the right amount into each cauldron.
If the bogeys stay TOO liquid-y, add more contact lens solution.

You can also use this slime (Troll Bogey) recipe to make some fun colors for background potions like these decorative test tubes.
Skele-Gro = Glow in the Dark Elmer’s Glue
Wolfsbane = Blue Glitter Elmer’s Glue
Polyjuice Potion = Green Glitter Elmer’s Glue
Felix Felicis = Gold Glitter Elmer’s Glue
Veritaserum = Black Glitter Elmer’s Glue
These labels are included in my Potion Labels listing on Etsy.
Harry Potter Potions Class: Secret Messages

We did wand making then Quidditch prior to potions class so that the kids could use their newly painted magic wands to help make the potions work.
It’s fun for them to use them for this experiment.
As you may have guessed, our secret messages experiment is all about invisible ink!

To make the Secret Messages you will need:
- Paper of some sort (heavier is better since it will be getting wet) for each wizard/witch
- Q-tips for each wizard/witch
- Small cups for each wizard witch
- Paintbrushes for each wizard/witch
- Water
- Baking soda
- Grape juice concentrate
For this experiment you are going to mix the water and baking soda (print the experiment at the end of the post) so that all of the baking soda dissolves into the water.
If it doesn’t, continue to stir in a bit more water until it does.
You can make this ahead of time and label it as Invisible Ink.
During potions class, pour a small amount of the Invisible ink into small cups and have the wizards and witches drawn a secret picture, a note, or a spell with a Q-tip on a piece of paper.
Allow the messages to dry completely (should only take a few minutes), then pass around the grape juice concentrate for everyone to brush over their invisible ink to reveal their message.
Harry Potter Potions Class: Miniature Rain Clouds

Ah, the magic of making it rain!
It’s actually a spell that you can do when you visit Universal Studios in Orlando so it’s a fun addition to your Potions Class.
This is one of the simpler potions to make and all items used (minus a dropper possibly) you will probably already have at home.
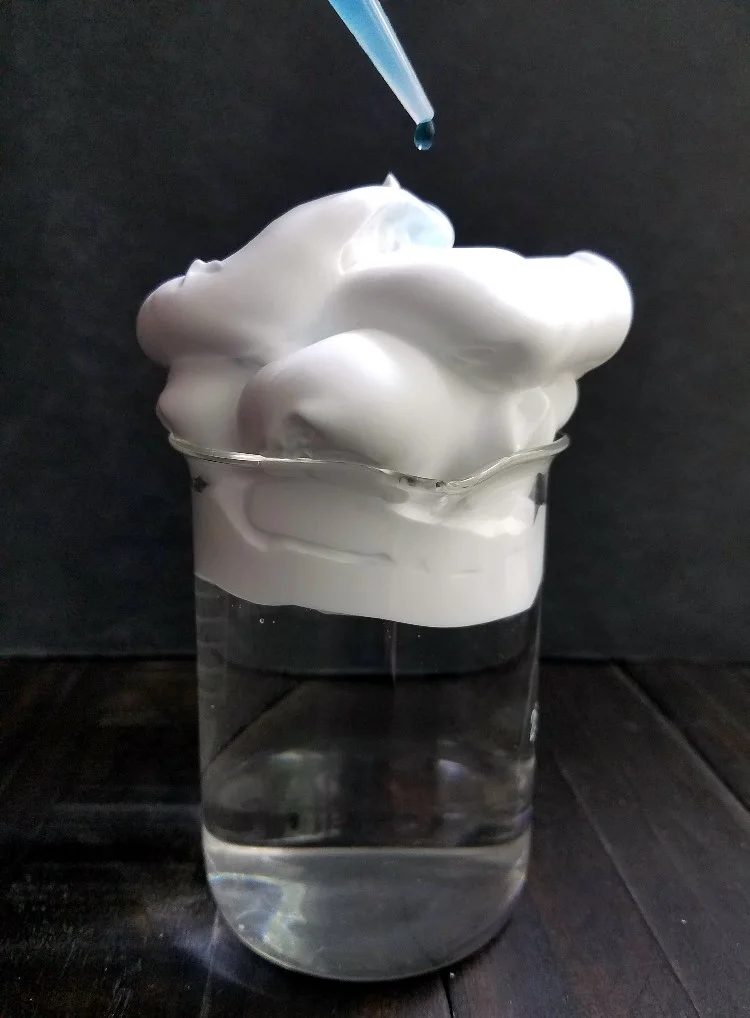
To make Miniature Rain Clouds you will need:
- A cylindrical container (a vase from the dollar store will work great!)
- Dropper
- Water
- Shaving Cream
- Blue food coloring
This potion is pretty basic.
The more “rain” you add to the clouds the faster they will pass through into the water.
But it will take a minute for it to happen to be prepared to entertain the kiddos while they wait.
Or have them add the water. That will be even more fun for them!
And they can use their wands and say “Accio rain!” to make the rain appear.
Harry Potter Potions Class: Printable Potions Class Experiments
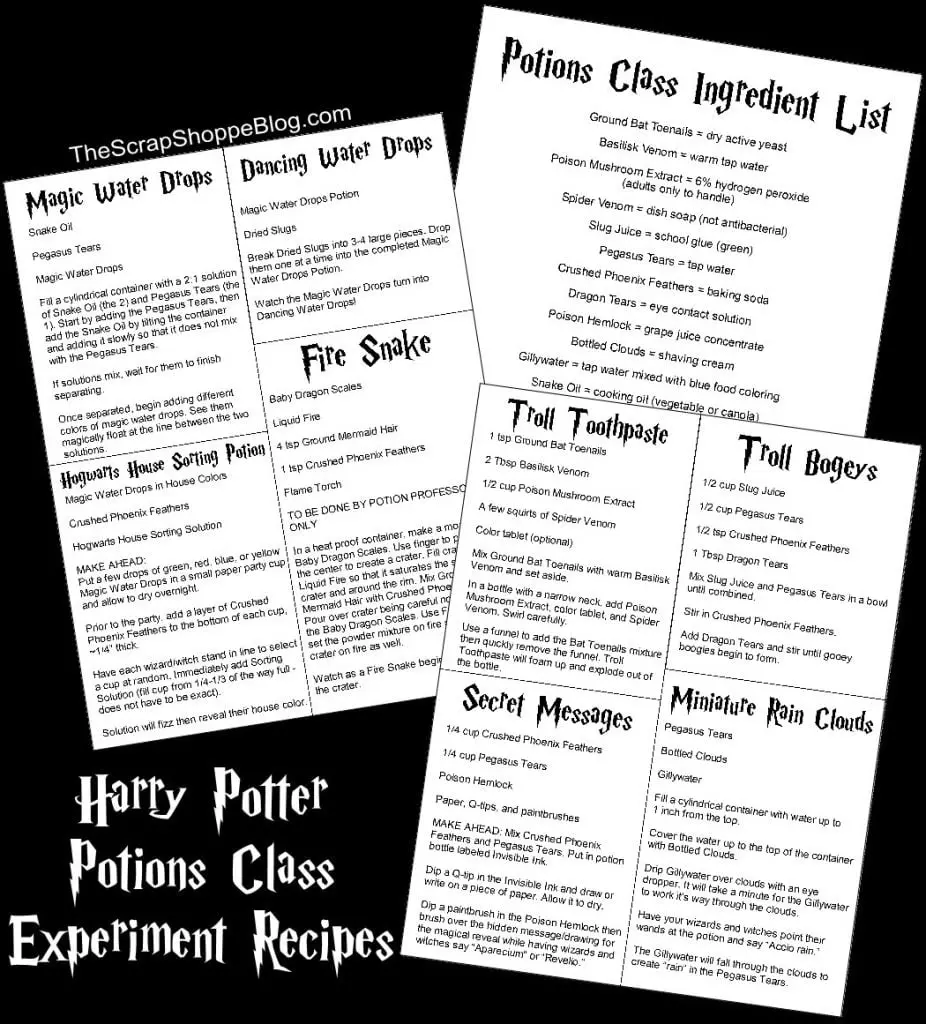
Click here to download my free Potions Class Experiments PDF.
The download includes all 8 experiments we performed with the potion ingredients in code (as well as a decoded list of ingredients).
Don’t forget you can get my potion labels that match the experiments in my Etsy shop!
I highly recommend not only preparing your potion bottles in advance, but also practicing each experiment.
You’ll look like a pro the day of and will already be familiar with the potion labels.
Also, as you may have already realized, these experiments can get MESSY.
Be sure to cover your tabletop with a plastic tablecloth (this stone tablecloth keeps in theme with the party) or some sort of covering.
You can grab the FREE Polyjuice Potion label here! (JPG, PDF)
The JPG file can be resized as needed for your party.
The Harry Potter Potions Class was definitely a huge hit at our party!
Click here to find Part 2 with the other 4 experiments (including the awesome Hogwarts House Sorting Potion)!

>> See where I party! <<





Jill
Saturday 18th of January 2025
LOVE these ideas so much!! Im throwing my daughter a HP potions party in a few weeks and will be doing a few of these! thank you! Question -- do you remember how long did the potions part of your party lasted? and how many ppl attended the party? We've got 15 first graders coming over so I'm just trying to time things... and figure out if we should add the wand making activity too.
Michele McDonald
Sunday 19th of January 2025
Hi Jill! We probably had at least 10 kids at our party. I would allow at least 5 minutes for each experiment. Some might take a few minutes more, but most are fairly quick if you have your "potions" ready to go. Have so much fun!!
Jennifer
Wednesday 12th of June 2024
These are great! You should put your logo/blog name at the bottom of the downloads so users remember know where they got them from!
Michele McDonald
Thursday 13th of June 2024
Thank you, Jennifer! That's a good idea!
Gillian
Saturday 1st of January 2022
Just wanted to say Thank You, your blog was invaluable for my son's Harry Potter birthday party
Michele McDonald
Monday 3rd of January 2022
That is wonderful to hear!
Gillian
Tuesday 30th of November 2021
Oh my gosh! Thank you for sharing these - you are a life saver. My soon to be 9yr old son has asked for a Harry Potter birthday party (his birthday is on New Years Day, so I have to plan well in terms of buying stuff!) We're in the UK so I'm not sure what is meant by 1/2 a cup when it comes to the experiment ingredients - I've got a bottle of the glue in my Amazon basket, but how many would I need for 12 children please? x
Michele McDonald
Tuesday 30th of November 2021
What a fun birthday for the new year! 1/2 cup is equivalent to 120 mL or 4 fl oz. depending on which you use in the UK. That would be almost an entire bottle of glue per child, but you can always lessen the recipe slightly to use less glue.
Melissa
Tuesday 2nd of November 2021
I love everything about this potions class!!! I have started adding supplies to my Amazon cart. Thank you for being so detailed. I would love to know if you made the house banners or where you found them? Thank you! Melissa
Michele McDonald
Thursday 4th of November 2021
Thank you, Melissa! I made the house banners using rectangles of stiff felt, which you can purchase by the sheet at the craft store, and cutting them into the banner shape. The images of the house crests I found in a Google image search and just print, cut out, and glue to the banners. Then I glued the felt to a dowel rod trimmed to size and added small wooden finials to the ends to finish them off (from Hobby Lobby's unfinished wood section)